1
1
a) Create an image, 800x800 pixels. For reference purposes, save this image (Ctrl+S) as glass.psd.
b) Use the type tool, or create an original form, filling most of the image, preferably using a typeface with thick smooth edges.
This example is using Goudy Old Style, Extra Bold. For reference, let this layer be known as the 'Type' layer.
c) Now holding down Ctrl, click on the Type layer in the Layer Window to select the it's transparency.
 2
2
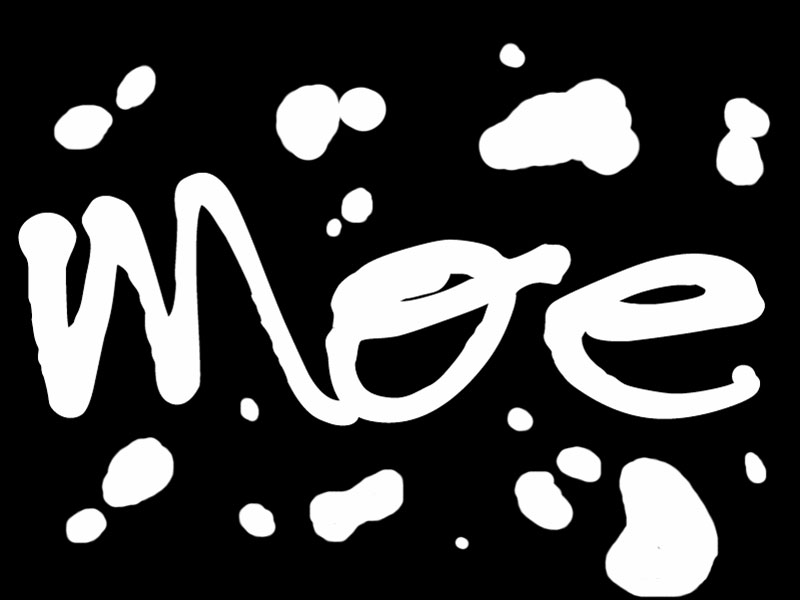
a) In the Channels Window, press the 'Save selection as channel' button to create a channel of the selection.

b) Now, click on the new channel this created, and with the selection still in tact, Gaussian Blur it accordingly.
Might I suggest, a series of blurs in succession, so that the edges falloff very smoothly.
Filter > Blur > Gaussian Blur... 9 pixels
Then blur 6 pixels.
Then blur 6 pixels.
Then again, 3 pixels.
Then again, 3 pixels.
Then finally, only 1 pixel.
The height map you create here is key to the goodness of the final effect.
Tip:
 | If you have My Actions loaded, this blurring process can be done quickly and easily by pressing: F8 (blur 9px), F7 (blur 6px), F6 (blur 3px), F5 (blur 1px) |
c) Once you deem your blurration fit for submission, press
Ctrl+A to select the entire channel, then copy it to the clipboard
Ctrl+C.
d) Create a new image (
Ctrl+N), of the same size (
800x800), and paste (
Ctrl+V) the blurred channel into it. Now, save this image as a
glass_bump.psd into the same folder you are working from. You may now close it if you wish.
 3
3
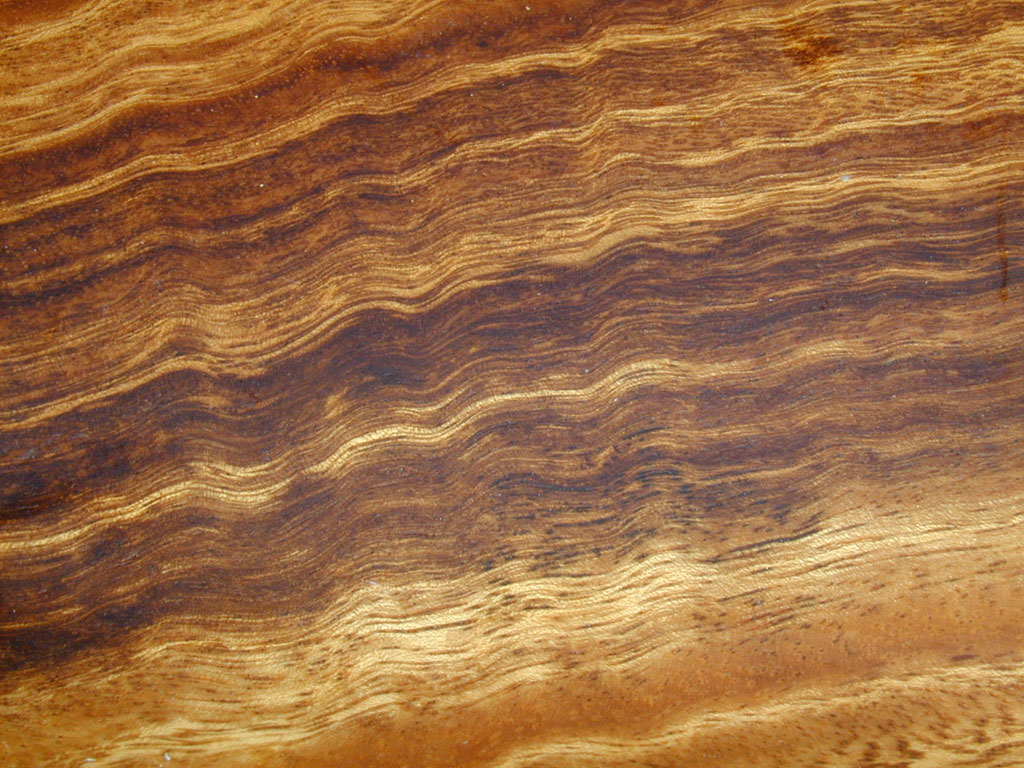
a) Download this photo by right clicking on the link then selecting 'Save target as...'. Open the image in photoshop.

Note: This can also be done by clicking on the link, so that the full image loads in your web browser, then drag the photo off the browser into Photoshop.
b)Once the image is in Photoshop, Select All (Ctrl+A), copy it to the clipboard (Ctrl+C), then go to the original image glass.psd and paste it (Ctrl+V) onto a new layer.
This will be the image which the glass refracts. Let it be known as the 'Photo' layer.
Tip:
| If you use your own photo instead of this one, such as pictures of water which look cool and refreshing, make sure that it is exactly the same size as the glass.psd, or else make sure that the edges of the Photo layer go beyond he edges of the image. Also, make sure you select the whole image (not layer) (Ctrl+A) before running the Glass filter, or else there will problems with the placement of the glass refraction. You will see. |
 4
4
a) With the Photo layer selected, select all (Ctrl+A), then go in the menu:
Filter > Distort > Glass...
b) From the texture dropdown, choose Load Texture...
Then select the bump map you saved earlier, glass_bump.psd, and press OK.
These sliders are self-explanatory, though for this demonstration I will use:
Distortion: 20
Smoothness: 8
The Invert option may also produce a desired effect.
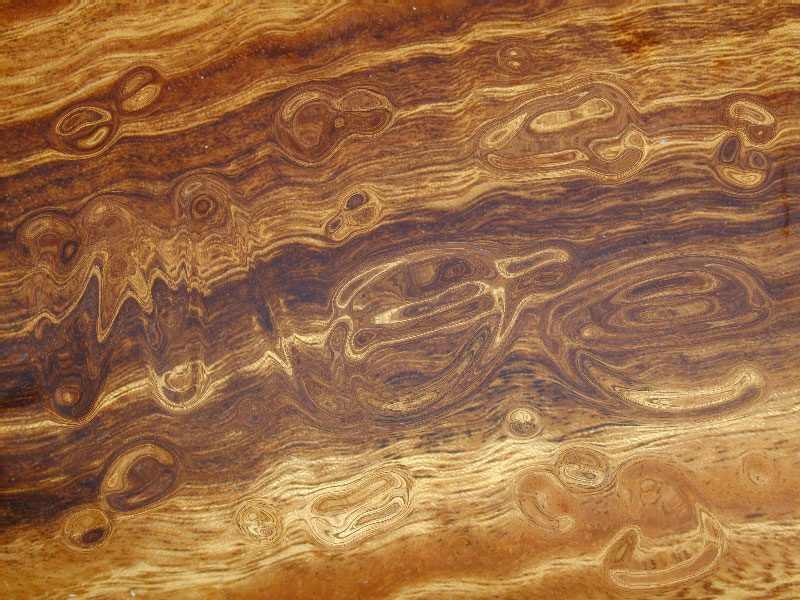
When you're done here, press OK to apply the filter.
Note: Rendering the glass filter a second or third time on the same layer (Ctrl+F) may also produce desirable effects.
The following steps are entirely optional, and should be experimented with.
 5
5
To fit the glass refraction inside the original form, hold down Alt, then move your mouse between the Type layer and the Photo layer, until a little icon with two intersecting circles replaces the cursor, then click.
This will use the Type layer transparency as a mask for the refracted Photo layer.
To disable this, click between the layers again holding down Alt.
 6 a)
6 a) Holding down
Ctrl click the
Type layer to select it's transparency. Click on the
Photo layer, then create a new layer above it.

Fill the new layer with a dark color, such as black, by pressing
X (to select Black as foreground color), and then
Alt+Backspace (to fill). Then deselect (
Ctrl+D).
Rename this layer '
Highlight', or something to this extent.

Set the blending mode for this layer to
Overlay.
b) With the
Highlight layer still selected, go in the menu:
Filter > Render > Lighting Effects... Set your texture channel to the bump map created earlier (possibly
Alpha 1), then setup some nice lights, according to the
Lighting Effects tutorial.
Channel height set to
100 'Mountainous', may or may not look hoopy.
When this is done, perhaps even change the blending mode to Color Dodge, or Screen... whatever appears the most groovy to your pulsating eyeballs.
In addition to the Photo layer, try refracting a layer of black and white
scan lines to produce highly detailed moire patterns. This tutorial can also be used to create chrome looking items. Throw down
drop shadows,
stone textures,
disgruntled dots, and hopefully better effects you've come up with by now.
Massage the pixels thoroughly, until they stimulate your eyeballs in return, and be sure to experiment until the persistantly unfolding depths of your mind push you to the brink of madness.
Read more...






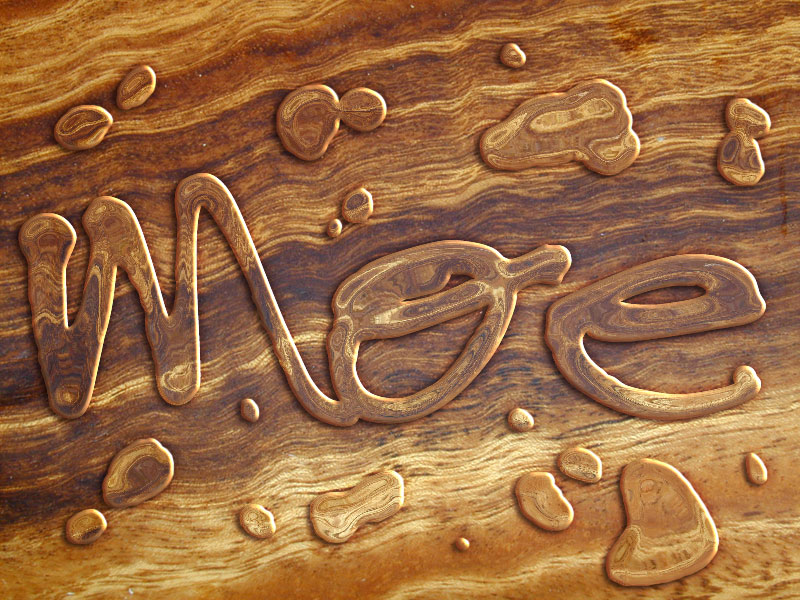
 Create a new image with the following attributes:
 Since the desired effect is to appear liquefied, a font that appears to have been made with a crayon or round brush will work perfectly. Select the Type tool and open the Character palette from the Options bar. The font I’ve chosen is called ‘WallowHmkBold’… if you do not have this installed on your system just use the font of your choice. The attributes for the characters are seen below:
 Note that the color is gray in the #666666 range and NOT stark black.

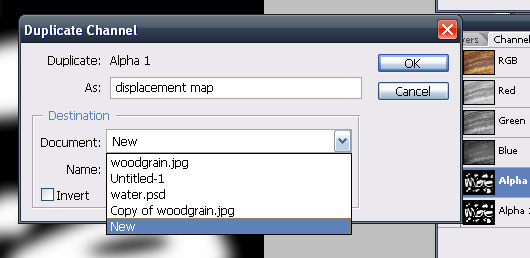
 Open the Channels palette and duplicate a channel… the Blue channel will work fine. Go to Image>Adjustments>Invert.
 Open the Filter menu and select Blur>Gaussian Blur. First, blur the channel at a 25 pixel radius. Blur the channel again at a radius of 15 pixels.
 Turn off the Blue copy channel, but don’t delete it… you’ll need it in a moment or two.
 Go to Filter>Render>Lighting Effects. Set it up as outlined in the image below… be sure to select the Blue copy channel as the Texture Channel.
 The result of all that is a pretty basic bevel, and yes, you could do pretty much the same thing with a layer style. Some habits die hard, however, and I like the end result better when channels come into play. What can I say? I’ve been doing it this way since at least PS 6, and if it ain’t broke, don’t fix it!
 Duplicate the text layer and go to Filter>Sketch>Chrome. Set up the reflections as seen in the dialog box below:


 Turn off the background layer or layers (if you added the black separately) and merge all the others together.
 To give the type an enhanced liquid quality, go to Filter>Liquify. Use the Bloat tool to expand or otherwise warp areas of the text as seen here. Once you are happy with the distortions, click OK.
 You can now throw the text into any image you so choose. In the following example, I’ve blurred a tech-style background, placed the type in that document, then placed a duplicate of the blurred layer above the text. The Blend mode of the top layer is changed to Soft Light to serve as reflections off the type, or making the type appear transparent allowing you to see the background through it. I’ll let you decide what is actually happening.